There is no item in your cart
Engineered wood boards are generally made from the same hardwoods and softwoods used to manufacture lumber, but mixed with additives like adhesives. This type of wood often utilises waste wood from sawmills, and are treated through chemical or heat processes to produce wood that meets all the size requirements that are hard to find in nature.
A Comprehensive Guide to Installing Engineered Wood: Tips and Considerations
Engineered wood is a popular choice for flooring due to its durability, affordability, and aesthetic appeal. However, the installation process can be challenging for those who are new to it. This guide provides a formal, structured overview of the installation process, considering multiple perspectives to ensure a successful project.
- Preparation:
From a contractor’s perspective, preparation is key. Start by clearing the area of furniture and other objects. Ensure the subfloor is clean, dry, and level. Address any irregularities before installing the engineered wood.
- Acclimation:
According to manufacturers’ instructions, allow the engineered wood to acclimate to the environment for 48-72 hours. This step ensures the wood adjusts to the room’s temperature and humidity levels, reducing the risk of warping or buckling.
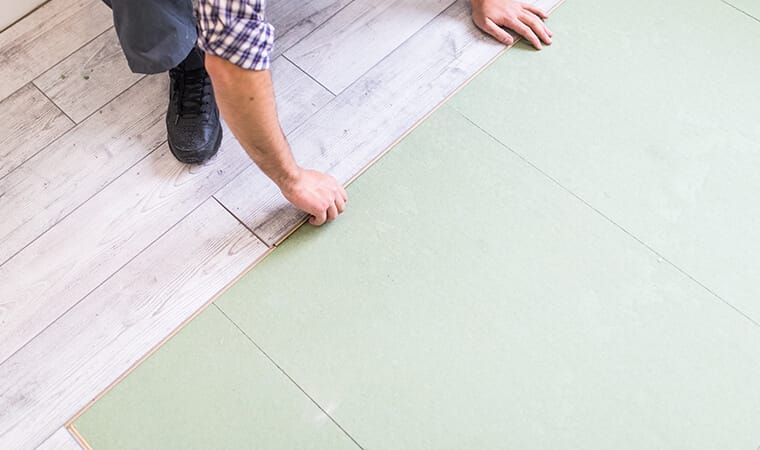
- Underlayment:
Installers recommend using an underlayment to provide a smooth surface, absorb sound, and act as a moisture barrier. Choose an underlayment suitable for engineered wood and the specific subfloor material.
- Installation Methods:
There are three primary installation methods: gluing, nailing, and floating. Gluing involves applying adhesive to the subfloor and pressing the engineered wood into place. Nailing requires securing the boards to the subfloor with nails or staples. Floating involves connecting the boards without attaching them to the subfloor, allowing for expansion and contraction.
- Layout and Alignment:
Plan the layout to minimize waste and create a visually pleasing pattern. Align the boards’ ends and edges to create a uniform look. Some installers prefer staggered seams for added stability.
- Cutting and Fitting:
Measure and cut the engineered wood planks as needed, using a table saw or circular saw. Be precise to avoid gaps or overlaps. Fit the pieces together snugly, leaving a small expansion gap around the room’s perimeter.
- Finishing Touches:
Once the engineered wood is installed, add moldings, baseboards, or transition strips to cover the expansion gap and create a polished look.
- Maintenance:
Regularly sweep, vacuum, or damp mop the engineered wood to maintain its appearance. Use manufacturer-recommended cleaning products and avoid wet mopping, which can cause water damage.
Conclusion:
Installing engineered wood flooring can be a rewarding project when approached systematically. By following these steps and considering the perspectives of professionals, homeowners can achieve a beautiful, long-lasting floor.
Leave A Comment